Showing posts with label craft. Show all posts

13 April 2016

DIY Bathroom Decor


IT feels like million years that I haven't been here. My school is oooover and summer is here already! I love summer because I can do whatever I want, my school-freedom, go to a beach and I will be out of my town this May! So anyway, here is an easy DIY, if you are bored already with your toilet looking. You can add it in your toilet! ;) 


I have no idea what to call these wood chips that go with canvas frames that I buy from the bookstore. Can anyone tell me what they are for ?

I have collected so many in my box, I was supposed to throw them away but I feel like i want them useful. A thought popped up, ''Why not DIY?!'' I was like oh yeah! Here are the supplies that you will need. Let's get started! 

Supplies: 
1. Gluegun
2. Acrylic or nail polish 
3. Yarn 


First step: Puzzle it to a shape that interests you.

Second step: Its glue gun time! 

Third step: Glue pieces to hold.


Fourth step: Layer them with use of glue.

Fifth step: Paint. 


                             Sixth step: Wait to dry the paint.  Flip it back.


Seventh step: Glue an end of the yarn to one side and the other end to the other side.

Eight step: Add more glue for  top coat. 


It's done! Please comment below if you want to say something :)! I love reading comments!


By yours truly. x :)


21 December 2015

DIY Gift Wrapper

Hi guys! I can't believe that I have not posted anything here for such a long time! I just finished all of my exams last week aaaand I am now on my Christmas break. Ahh, loving Christmas vibes. Here is my simple idea for a Christmas DIY. It's really cheap and eco-friendly. I know it has been quite a while but I hope you won't mind the late post. (Better late then never haha!) 

The things you need: 
1.) Ink pad 
2.) Manila Paper or Plain cartolina 
3.) Stamps   


I bought it from Typo. Typo is the best! 

These washi tapes are from HeyKessy and instagram online shop.


It's really really cheap and eco-friendly because of using recycled paper.

Here are my customized stamps- I carved them from rubber erasers.


Use washi tape to make it look extra cute. 


The first thing you have to do is wrap all the gifts before you can stamp them. It's easier this way and will end up looking better cause the pattern wont look messy. 

It's my new favorite DIY! 


If you are lazy or no time to wrap the gifts and you can use a paperbag instead! ;)) 


Here is my happy face because CHRISTMAS makes me happy! :P


Merry Christmas guys!!! Hope you are having fun with your families on Christmas break and tell me what you guys will be doing.

 :) Comment below! I would love to read your comments! 

Love, Bea 


03 October 2015

DIY Heart Cork-board


Finally here I am! My schedule has been busy and I miss making exciting posts here. My school work has been having conflicts with my blog schedules. I am going to have my exams on this week and it's going to be stressful again ugh. So today is my free time to make a new diy post. (Yay!) 
First step: Make a big heart to make sure there is an enough space to put a note or picture on it. 

Second step: It's best to cut a heart in half folded paper.


Third step: Put a marker on the outline of a heart paper.

Here is a smiley heart! 


Fourth step : Use cutter to cut on the corkboard.


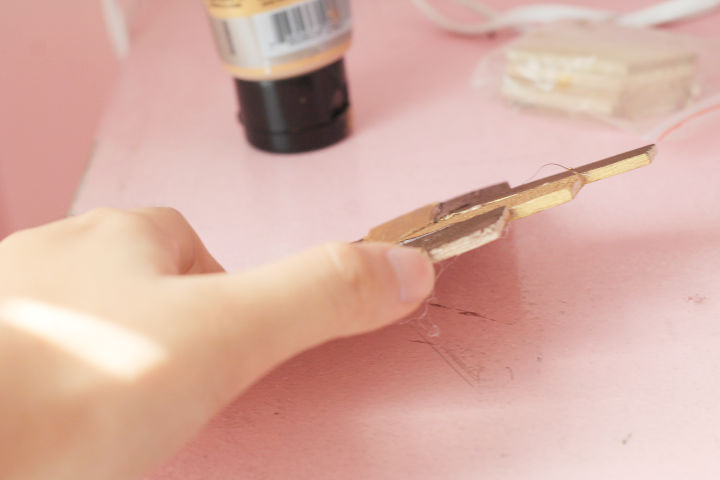
Fifth step: Get any color of paint that you want ;)

Sixth step: Tap or rub on it with a paint.
Use sponge or paintbrush.


Sixth step: Get a leftover corkboard and make your own cork stamp .


I decided to make a cork triangle for a stamp one.

Seventh step: Let it dry then stamp it with paint.

Yaaaay! Its doooone! 


              You can make your own shape with corkboard. Is it cute? Let me know what you think about it. Comment below :) 


10 June 2015

DIY Cup Plate

Hello people! I have not posted anything for a long time. I had been doing something that was written on my idea notebook. 
Here it is! I am going to share a simple diy for your cup plate. Its easy to do it! :) 


What you'll need:
1. Popsicle sticks
2. Glue gun
3. Washi tape 
4. Acrylic Paint


 You can use small or big popsicle sticks.

I used an acrylic paint marker, but of you dont have one you can use any acrylic paint. Paint on the popsicle sticks.

Flip them back. 
Take another two extra popsicle sticks and glue them at the back of the first set of popsicle sticks you had.

Flip to the front again, and it's done!!! 

There are a lot of possible designs for this too! 

You can use a washi tape on it! :) 


Comment below what design you did on yours! I would love to read your comments :)